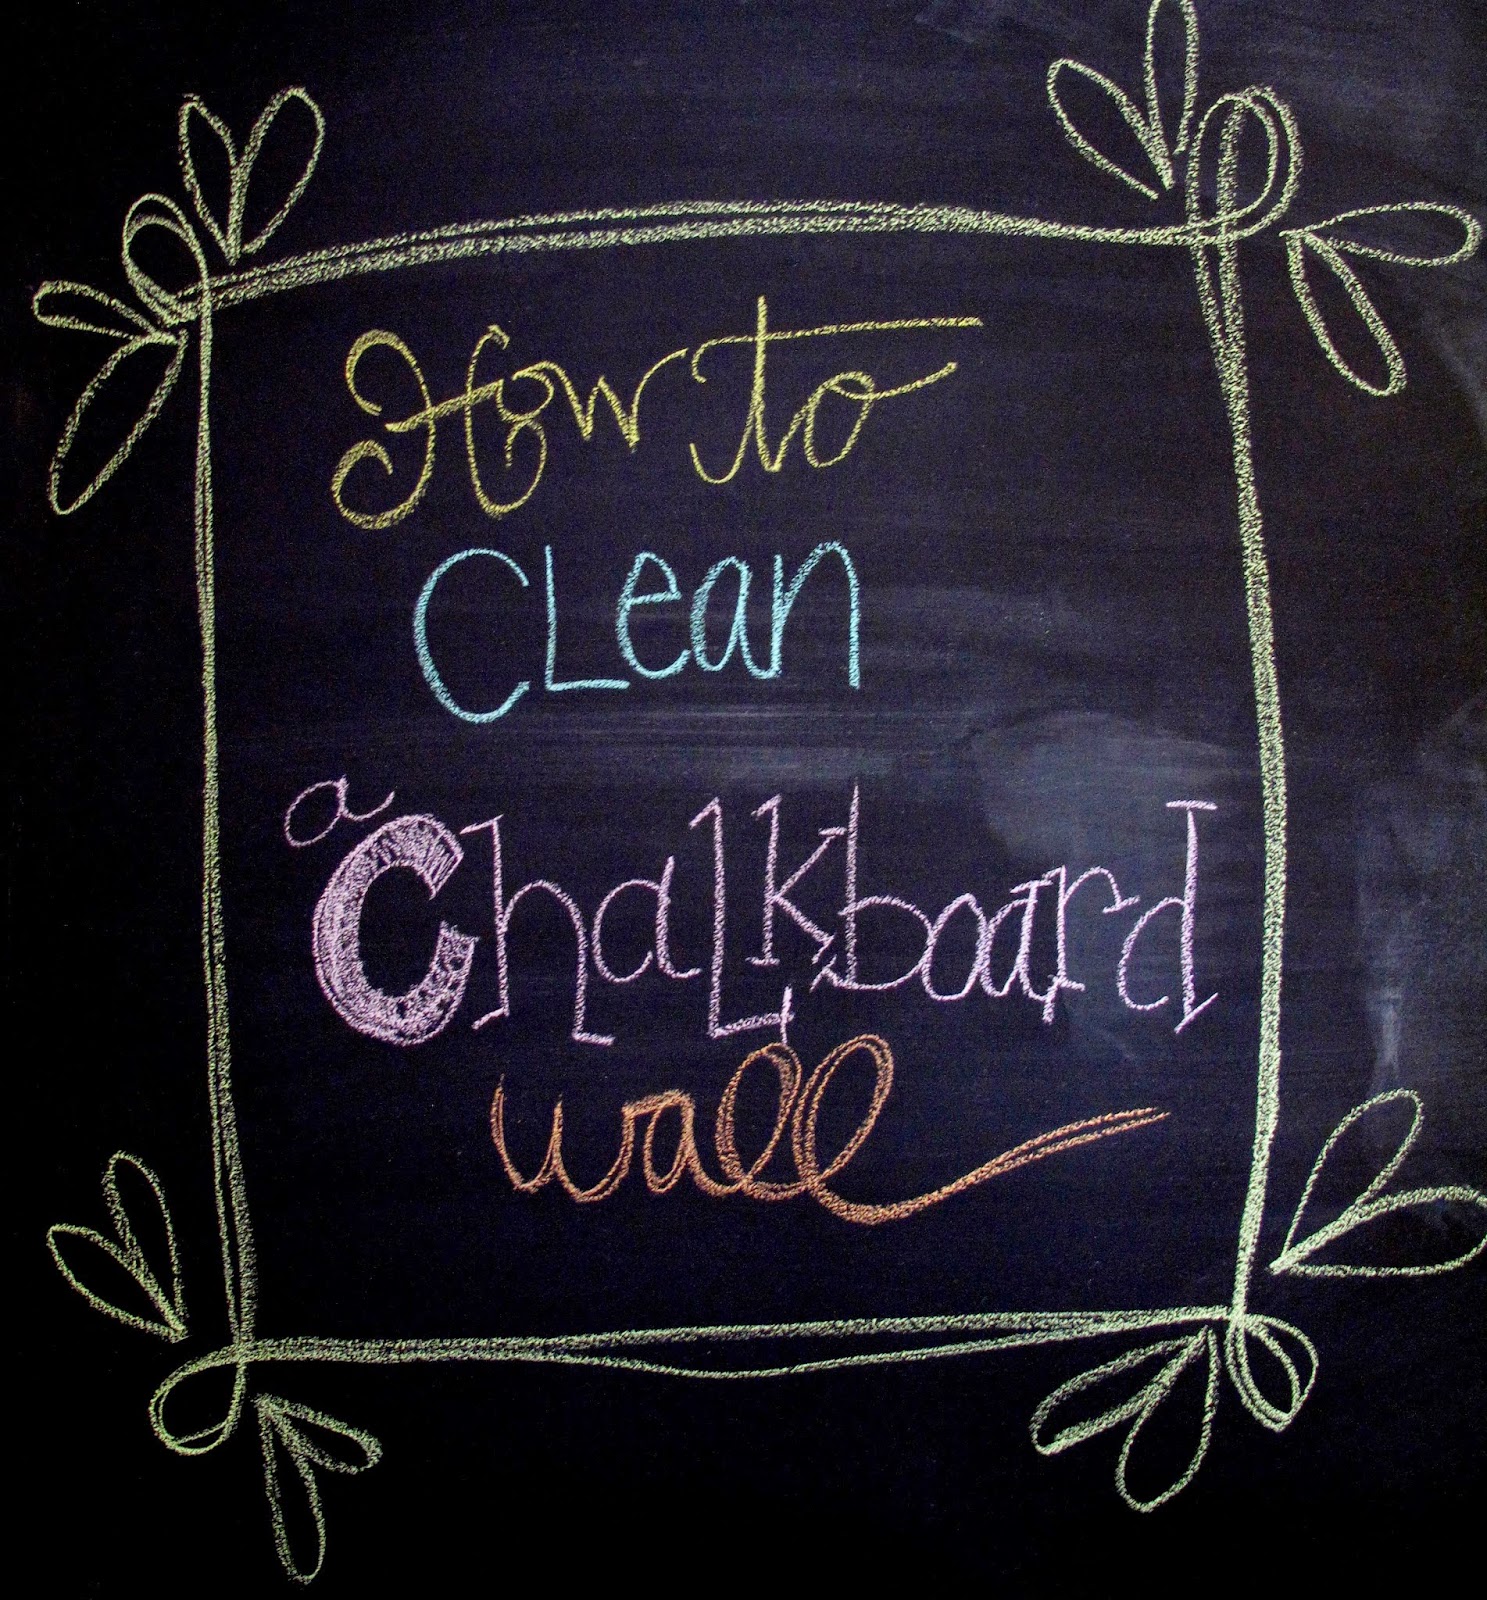
Well people, we are finally moving things into our fabulous new office and I am having so much fun! Nothing like taking a hot mess of a room and turning it into something fun and functional. It has a ton of
character and one of my favorite things is our new chalkboard wall! Painting was the easy part, you just paint it on like regular paint! We used the chalkboard paint available at Sherwin Williams:
You have seen pictures of the big black wall in my past couple of posts, but tonight I finally had the chance to get some chalk on it:
I made sure to read up on pointers before getting started because I didn't want to ruin our cool new wall. Here are the steps I took to prep the wall before writing on it:
1. Wait a couple days after painting to make sure it is completely dry and settled.
2. Rub chalk all over the wall/area you want to use in order to avoid permanent markings (unlike silly me, probably a good idea to do this before your husband setups all the gadgets right below the wall... might have gotten chalk EVERYWHERE!):
3. Wipe that using a paper towel to spread it:
4. Your chalkboard's new best friend is a magic eraser. It is your new chalkboard eraser - use dry. After wiping with the paper towel, wipe with the magic eraser:
5. Have some fun and make a to do list, doodle or add your favorite quote of the day!
I'm loving that the desk and computer are black, but the chairs are a pop of gold:
And you of course need a cute holder for your eraser and chalk:
 |
| Photos via me |
I think it is a great idea for any home and you can do a whole wall, half a wall, a table or even the inside of a door! My brother and his last roommate painted their refrigerator with it. It would be especially great if you have young ones around, but make sure they understand that is the only wall they can color on....could be dangerous!
More office pictures to come! Definitely coming together, but want to share when it is all put together!
Lots of Love,