Tuesday, October 24, 2017

Dreamy Hot Air Balloon Birthday


When our Event Coordinator began planning her daughter’s fourth birthday, ideas were all over the place.  Sweet Caroline wavered between several themes, as any parent of a preschooler understands, and she finally landed on a hot air balloon theme and we ran with it before she could change her mind!  


We used the Studio Pep Desert Balloons for color inspiration; Rachel leans toward neutral palettes and this one gave just the right pops of color.  We added rose gold balloons for a modern touch.  We filled balloons using an air pump and suspended them with fishing line above the basket.   The textured crepe paper made a eye-catching addition to the basket and made a statement curtain behind the cake table. White and clear balloon clusters turned into multi-dimensional clouds with paper hot air balloons flying underneath.


We used houses made by Gold Frankincense + Myrrh to bring a whimsical touch. The small houses were a perfect table addition and could double as guest favors.  Each guest went home with hand kites assembled in part by the birthday girl herself.   We used hand kites and white monograms to decorate the kids’ ghost chairs.


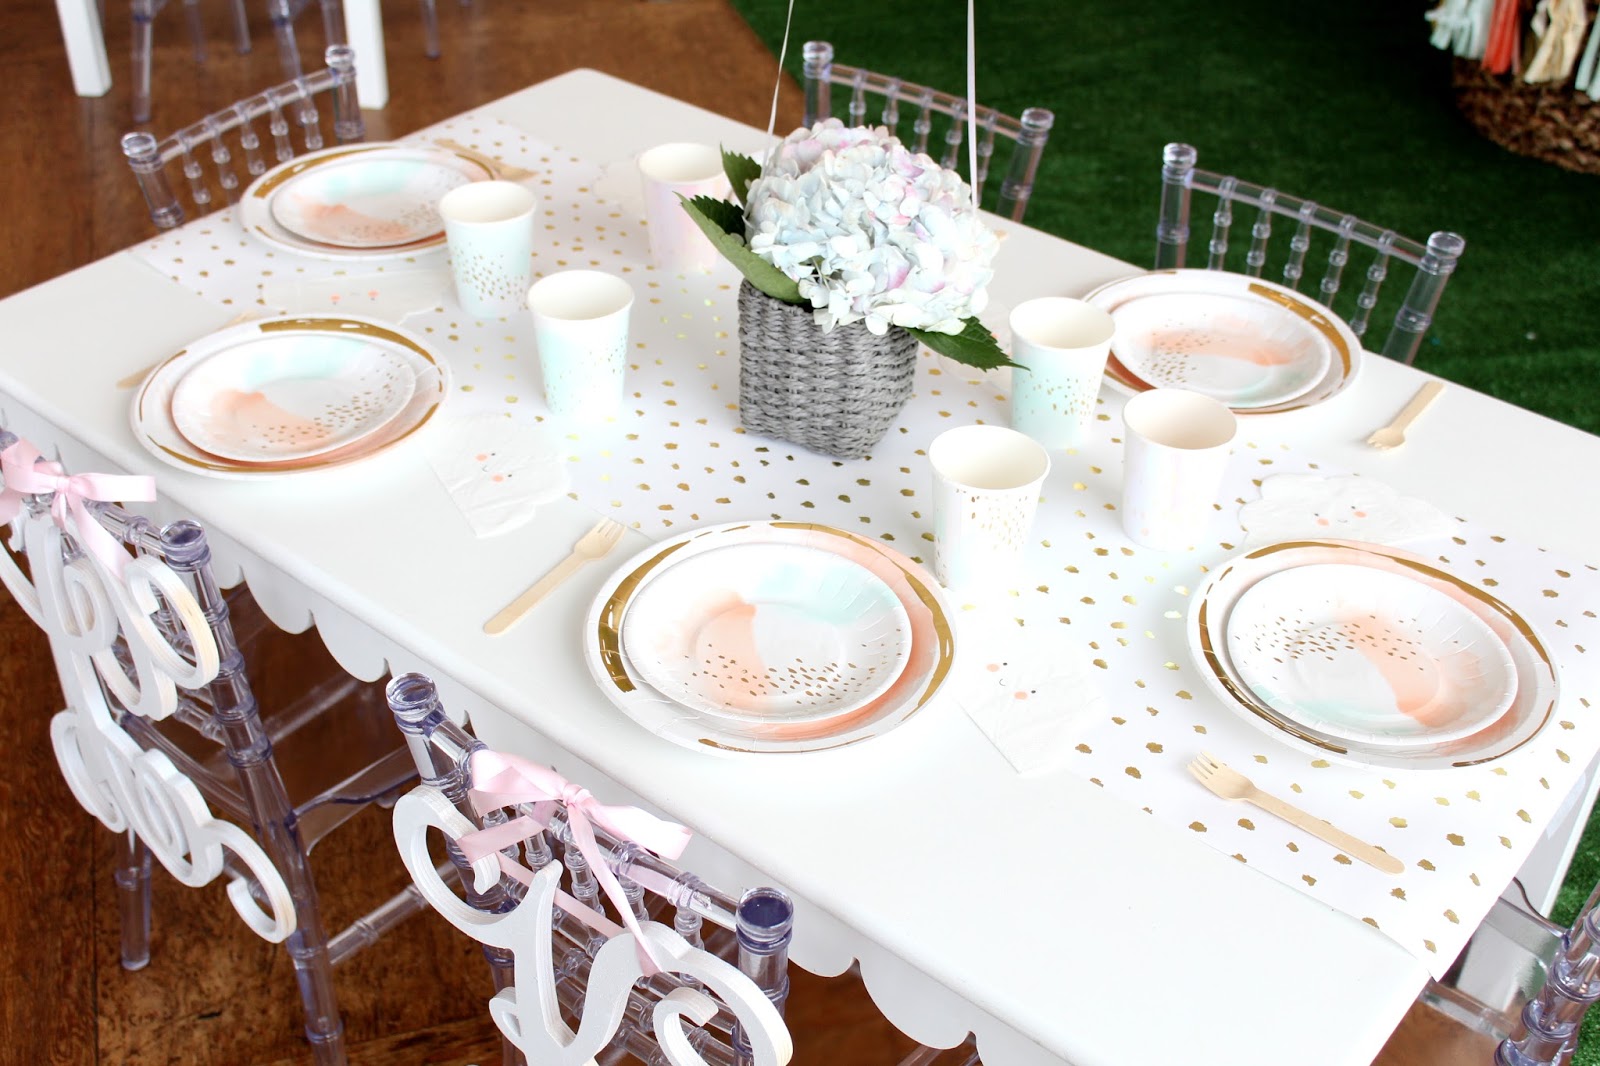
On the tables, Rachel filled gray baskets and gold vases with hydrangeas; we tied balloons to the baskets, creating a tabletop hot air balloon effect.  We used our favorite gold, speckled runner from Minted and placed Meri Meri iridescent cups mixed with Harlow & Grey Daydream Watercolor plates and cups.   


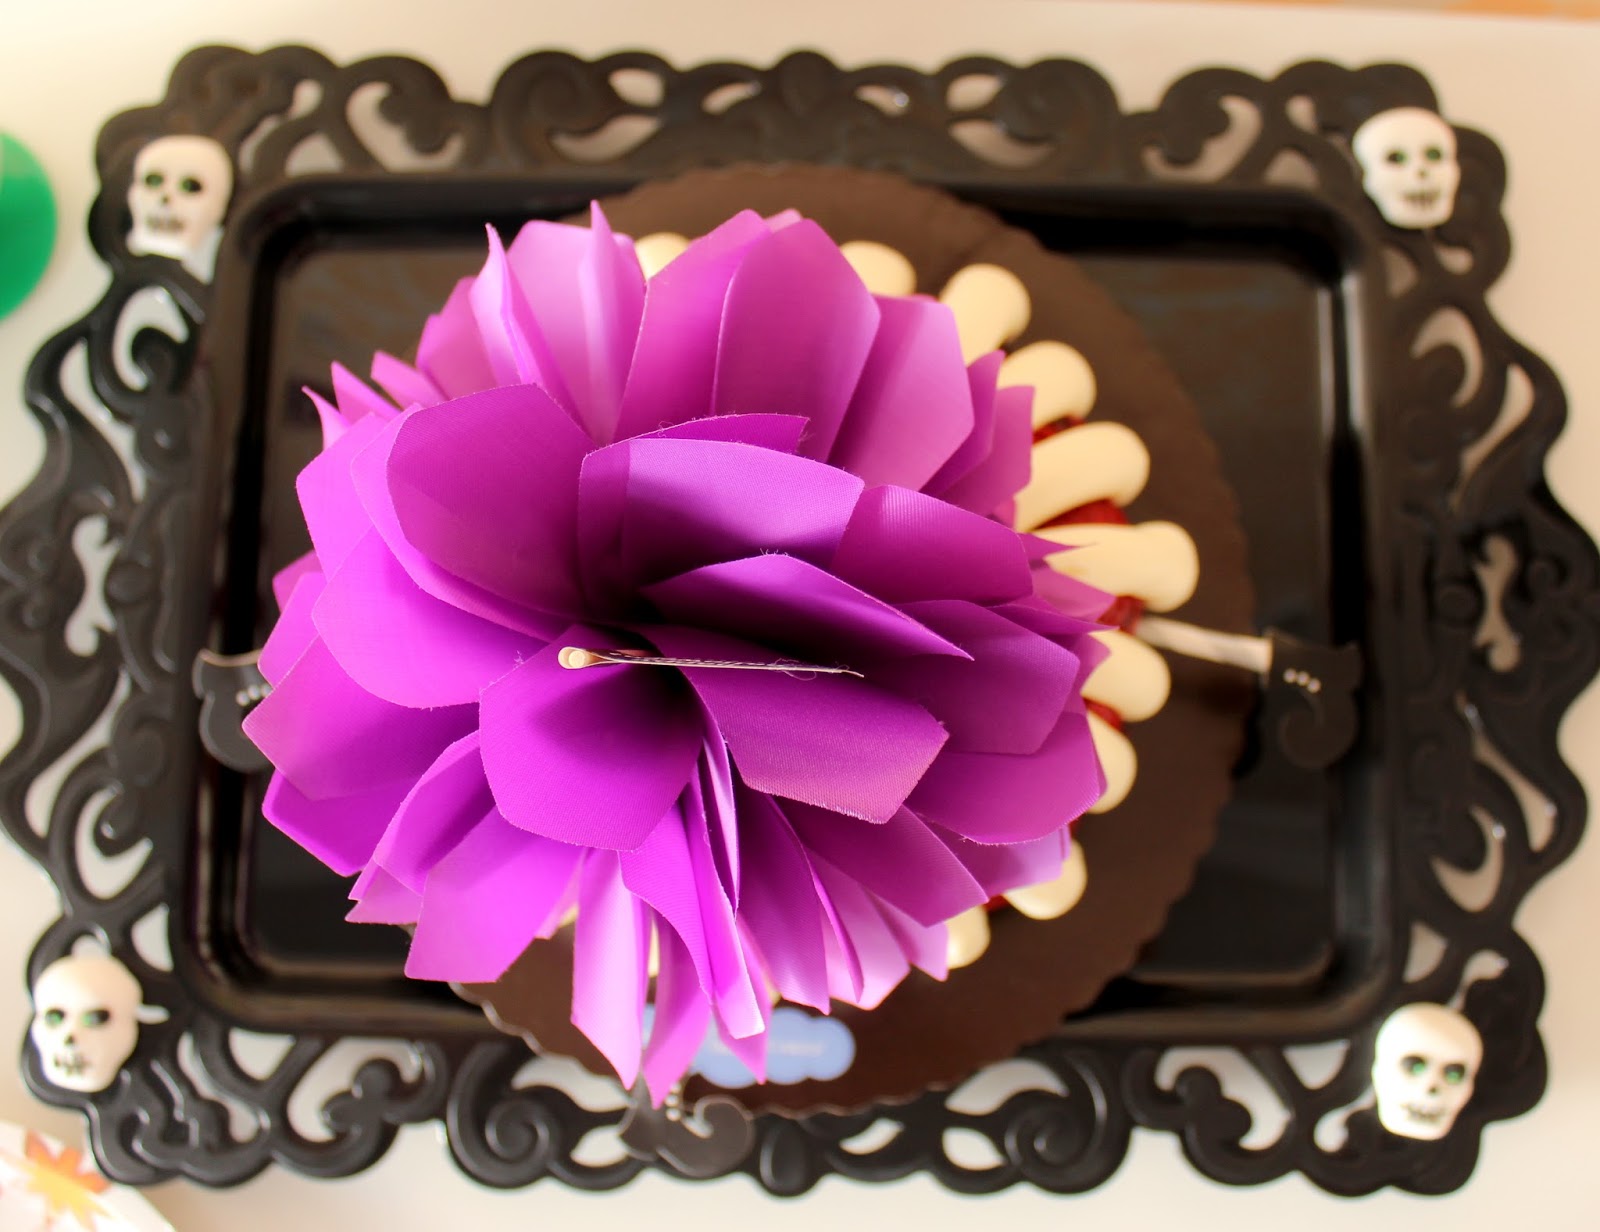
Cloud and hot air balloon shaped cookies from Sweet Sugarlicious by Wendi perfectly complimented the party colors.  Wichita Cake Creations took several inspiration photos and put them all together to create this gorgeous cake, complete with the birthday girl’s initial!


A balloon artist was the perfect party entertainment!  We used a shop favorite, Twisted by Chris Conner.  The party guests were treated to handmade balloon jet packs, mermaids, headbands, bracelets and more!  Great for a party combo of entertainment and party favors.


This was such a fun party!  If you’ve been considering a hot air balloon theme we are happy to brainstorm some ideas with you!

Shop this post:

Lots of Love!

Wednesday, October 18, 2017

Sugar Skull Soiree


Halloween is one of my favorite holidays! Last year, we hosted this dark, glam craft party for a creative middle schooler. When she reached out again this year, we definitely wanted to help! We got in some fun sugar skull party supplies and I was so excited when we had a chance to use them for this Halloween craft party. I figured the flowery, bright vibe of sugar skulls would be fun for girls their age.


Iram, the mother, loved the theme and picked up our sugar skull die cut plates and matched them with our rose gold scallop cups (love this combo!). These plates are a favorite of the season and you can pair them with lots of different paper products. She had picked up some napkins and a brightly colored table cloth that went with the theme. Made for a festive table!


The best feature of the setup? The backdrop inspired by the sugar skull plates! I thought it would be fun to enlarge the design and enhance the features. Middle school girls love taking photos and sharing them on social media, so we definitely wanted something fun for them to stand in front of. I tried my best to match the colors of the plate when picking out poster board. Helena got to work on the sugar skull masterpiece (one of my creative shop girls!), and it turned out better than I could imagine!


For their craft, the girls worked on decorating mini white pumpkins. I picked up some neon puff paints, glitter paint and sticker jewels for them to use. They were able to decorate to using the bright sugar skull designs and flowers as inspirations. Iram also hired one of our favorite entertainers, Just Face It, to paint the girls' faces with sugar skull designs.


Food wise, Iram kept it simple for dinner with Chick-fil-a nuggets. Then she had a little fun with the desserts and picked up ghost cookies and a festive bundt cake. It was a fun evening and it sounds like the girls had a great time together! We loved putting together another Halloween party for them, and were happy to hear how much they enjoyed the setup.

If you are looking for unique party supplies, and a twist on the traditional Halloween look, sugar skulls are a fun way to go. Want a more traditional look? We have so many great supplies for that as well! Stop in and get your supplies for the upcoming holiday!


Lots of Love,

Wednesday, October 4, 2017

Color Me Happy - WAM Fundraiser Party


When the Wichita Art Museum (WAM) reached out about doing a children's party for their party collection fundraiser, I knew we could come up with something fun. I had recently purchased Darcy Miller's Celebrate Everything book at that time and it ended up having the perfect inspiration - a color party! I started pulling together ideas and decided to go with "Color Me Happy" as the event title. I wanted it to be bright, happy and full of color. It was time to start brainstorming activites, food and party supplies to pull it all together.


My first bright idea for the event after coming up with the theme, was to involve my talented friend, Sally Cavanaugh. She is a local photographer and we always have so much fun working together. I knew she would help make it great! With her help, we added photo mini sessions to the event for the children attending. We wanted to make sure we had a great backdrop for the photos. We took inspiration from a party Sally's friend threw and one of my favorite blogs, Oh Happy Day. We decided to cover the white wall in our space with balloons of all shapes, sizes and colors. Oh Happy Day has a great DIY. It's a fun backdrop for parties and you can do it in so many different ways.


We also had some fun with balloons bringing the WAM's famous Chihuly glass masterpiece to our small space. Since it was a fundraiser for WAM, I wanted to incorporate it into the event. We mixed different sizes of regular latex balloons. We then added long latex balloons that we curled to give the Chihuly impact. We followed The House that Lars Built tutorial on "How to Curl a Balloon." Worked well! It became a great centerpiece for the event that screamed color and WAM.


For the party supplies and table setting, I wanted to give a rainbow effect by color blocking. We decided to focus on six colors: red, orange, yellow, green, blue and purple. Meri Meri, one of our favorite party supply vendors, sent us plates and napkins that worked with our color scheme. We laid them out across the large white table and it was just the impact we wanted! Next to the place settings, I added a mini water bottled with a simple color label. In the center of the table, I purchased flowers in the six colors and color blocked them across four vases. To keep the impact, we made sure to keep our colors in the specific order with all of our color blocking.


For food, we decided to serve sweets and snacks. The gorgeous cupcakes were made by a local favorite, Hannah Marko with HB Cakes. She followed the color scheme and I love how she played with the different frosting styles. They were a perfect addition across our table. For the snacks, we used clear plastic cups to show the color blocking:
Red - Strawberries
Orange - Goldfish Crackers
Yellow - Pineapple
Green - Grapes
Blue - Blueberries
Purple - Grapes


Outside of the photo mini sessions with Sally, we needed other activities to keep the kids busy during the event. Keeping with the color theme, we created a coloring station and candy/cereal necklace making station. They were perfect color party activities because we could color block the supplies and it added to the decor. It took a little effort to sort out the crayons, cereal and candy, but the impact was great. For our other activity, we worked with another local favorite, Wendi with Sweet Sugarlicious.  I wanted kids to be able to make their own little cookie art pieces and Wendi was able to bring it to life with Paint Your Own (PYO) cookies. Using a cookie icing pallet, they were able to dip their brush in water and paint on the cookie canvas. They had a great time and it was fun seeing their cookies come to life!


Photos via Sally Cavanaugh
Thank you to everyone that attended our fun, colorful event! We had so much fun bringing this party to life and your excitement made it all worth it. Also, thank you so much to my team for helping blow up lots of balloons and putting it all together. Thank you to Sally for helping put together the balloon wall and capturing the event so well. I should also give a special shout out to my husband that hung our balloon Chihuly and my mother that came to help finish setup.

Lots of Love,